DIY project

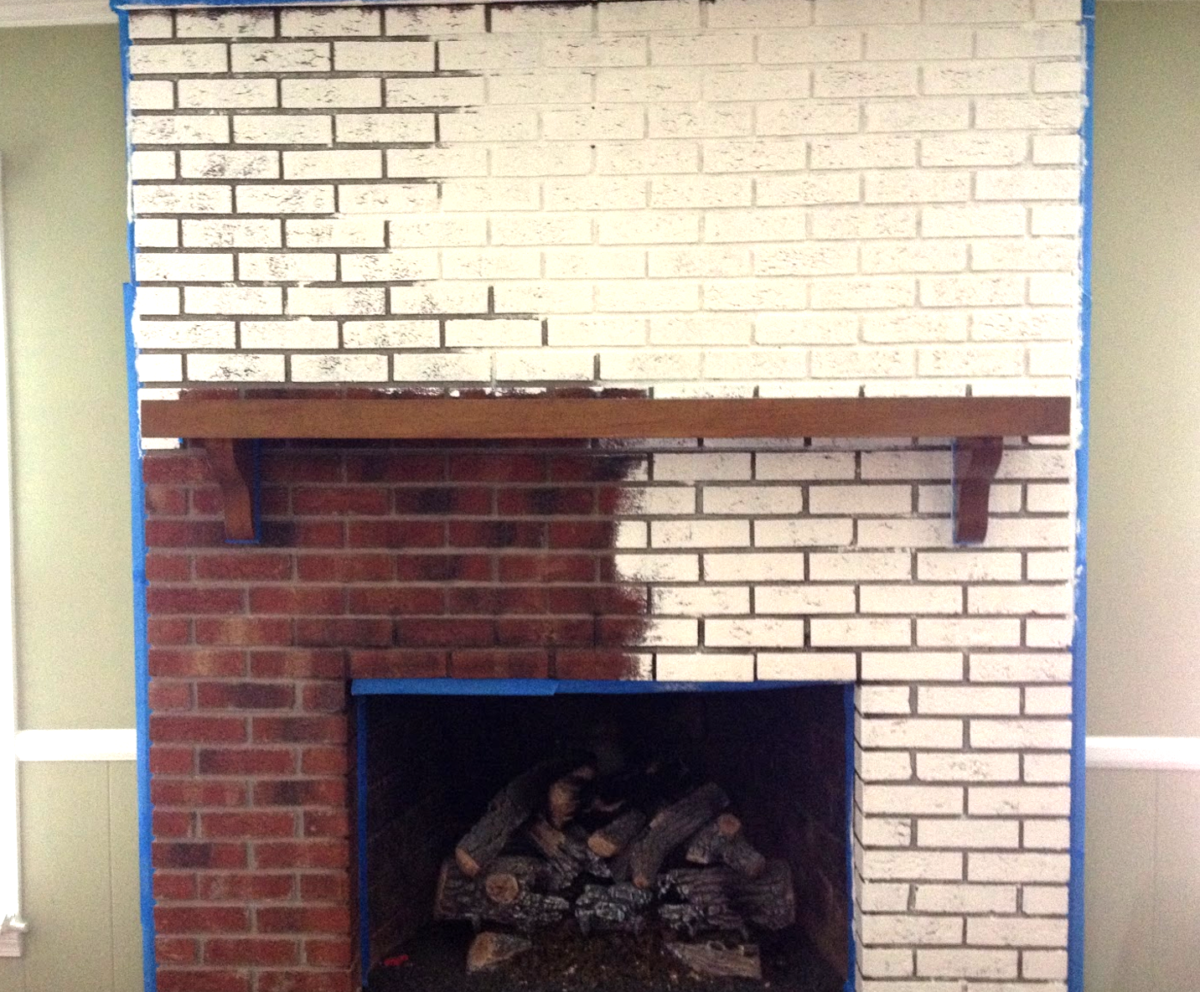
This is the story about how I wasted multiple weekends trying to refinish my oak floors myself. I had budgeted a certain amount of money for all the repairs I needed on my new house, however when looking at everything that needed to be done the floors weren’t really something I considered. After living in the house a couple months I realized that the hardwood floors had some stains on them, and were generally looking worn and faded in areas.

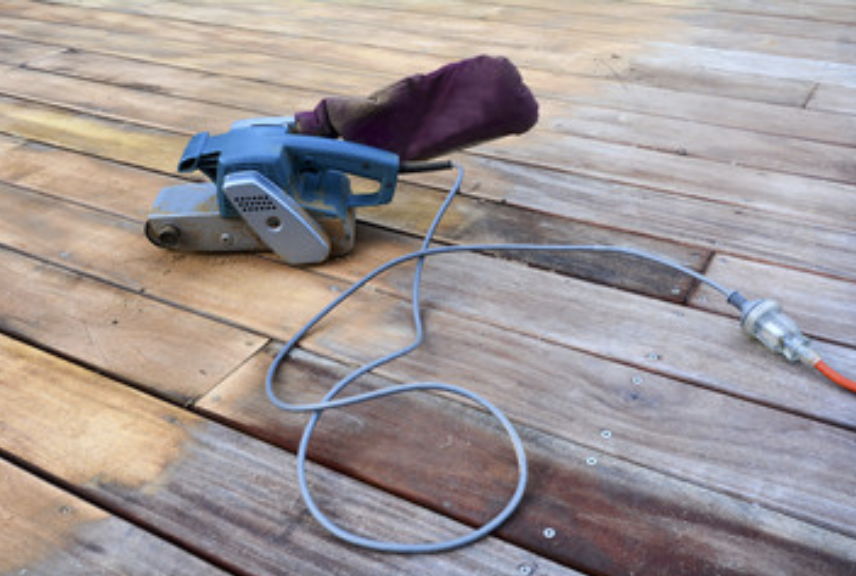
I did go online and do some research one night and convince myself this would be a pretty easy task. I have a small pantry area in my kitchen that I thought I could use as a trial area. I set about to start testing this project myself. I rented a circular sander and looked at a bunch of different stain options. I eventually settled on a darker looking floor stain that I thought would complement the light walls I had painted. After finally getting the hang of using the sander I noticed the finished result wasn’t really what I wanted. I had uneven sanding marks and circular grit lines all over the floor. I tried my best to even it out but I found that I was doing some of the steps for the flooring out of order. After much frustration eventually I realized I could most likely just work some overtime and save up the money to have a pro do it. I went on thumbtack and searched for what I needed, floor refinishing near me.   And I ended up finding someone who banged it out nicely that weekend for me. Came out gorgeous and most importantly I was able to enjoy it right away. It’s great because when people come over they think I actually have had new floors put in, but it’s really just the old ones refinished and all polished up. Next time I’ll just hire a professional from the start since I definitely have better things I can be doing with my time than trying to learn an entire skill in a few days that others have spent years perfecting.

Pianting a Brick Fireplace

How to Paint a Brick Fireplace

Brick fireplaces are a gorgeous accent to any home. Perhaps your brick fireplace is in need of some TLC for mildewed or faded brick, or maybe you are just looking to change the color to give a room a fresh look—either way, painting a brick fireplace is a relatively quick and simple interior painting project as long as you follow the right steps and know how to clean, prime, and paint brick properly. Follow these steps to make sure your newly painted brick fireplace looks great for a long time to come.

1. Clean the brick

First, thoroughly clean the brick of the fireplace to make sure that it is ready to prime and paint. In order to clean the brick, we recommend using a wire scrub brush to remove all dust and dirt. A heavy-duty cleaner such as diluted chlorine bleach works well to make sure the brick is cleaned fully. Rinse the brick thoroughly and let it dry before beginning the priming and painting job. Never use acid cleaning solutions, any of which might compromise your paint job. Acid cleaning solutions can compromise your paint job, so never use those.

2. Prime the surface

After the brick is fully washed, rinsed, and dried, make sure you tape off any areas on or around the brick fireplace that you do not want to get paint on. In addition, lay a drop cloth on the floor to protect it from paint and primer. We recommend using a stain-blocking, oil-based primer on the fireplace in order to ensure that the paint lasts and is protected from any soot stains. Depending on the area of the fireplace, you can use either a roller or a paintbrush to apply the primer. Add additional coats of primer on any parts of the fireplace that had mildew before it was cleaned. Wait for each coat of primer to dry before adding another, and then make sure that all of the primer is completely dry before beginning to paint.

3. Paint your fireplace

Now that your brick is cleaned and primed, you are ready to paint! We recommend using an indoor latex paint that is designed to withstand the high temperatures that come with a lit fireplace. A roller that is specifically designed for textured surfaces in order to make sure the brick is fully covered and any gaps are filled. If there are any spots that are missed by the roller with a small paintbrush. White paint can brighten up a room in a softer way, while a black fireplace can stand out against white walls and make a bold statement in any room. Regardless of the color you choose, we recommend using two to three coats of paint for full coverage. Make sure that if you intend to paint the inside of the firebox, you use a heat- and fire-resistant paint.

Once your brick fireplace is cleaned, primed, painted, and dry, it is ready for you to use all fall and winter long!


Sponsored by House Painters Boston